I am beginning to believe in the saying that "there is a time for everything". As in, sometimes, no matter how you try things don't work and then out of the blue, everything just clicks into place.
My raised garden is clicking in to place.
I started with demolishing an old cinder block raised garden (see here) that was overgrowing with ivy and built a more contemporary looking raised garden out of cinder blocks (see here). Even after I built it, I had no idea what I was going to plant in there. Nothing really came to me except, I thought that I should fill up those protruding cinder blocks with hen and chicks.
When I went to the nursery to buy these plants, I landed up also buying some aloe for my office. I had set the aloe out on the raised garden, meaning to let it get some real air and light until the weather gets cooler.
Walking past it every day sort of gave me an idea for the garden.
First of all, all that demolition had left the soil in uneven mounds in the raised garden. Secondly, only the very outermost couple of inches see any water at all due to rains. Since I normally select plants that can do well with what nature provides in terms of watering, it would be tough for the plants away from the edge to get any water at all! These situations are however, great for a rock garden.
I had some large rocks in the backyard, where I planned to source my rocks from. Walked up all the way only to find this:
What? Where are the rocks? The ivy, the poison ivy and other weeds have swallowed them whole!
I had to rip out whole long list of unidentified creepy things to discover some. The one in the photo turned out to be useless, because it had rough edges and I was looking for the more rounded forms.
Anyway, I waded through the poison ivy and several unmentionables and removed some rocks and arranged them in the rock garden. The idea was to create a flow in the garden. Like in Zen rock and sand gardens.
The idea was to create a flow in the garden
Here the rocks represent the flowing river.
... where the rocks are the river and they are flowing down a hill
Finally I was happy with the placement. So filled in some soil and added my plants
I decided to put the bird feeder right on the bed, so that the cats can view the action from the window
I "naturalized" the now dysfunctional solar lamp into the creeping euonymus plant.
The spurge that you see in the forefront came in an interesting biodegradable pot
A closer look at the two hen and chick plants
Although the white rock is an oddity in terms of color and shape, I think it will highlight the pink flowering plant better.
View from the door step, with the little aloe that started it all in the forefront
I think I am in love with this garden
View from the house
Apparently I am not the only one in love with this garden. Wait until the birds discover the feeder. Then we will have a party!
I have been meaning to make a few cinder block benches for the garden. Although I started out with making one under the cherry tree, I realized that I would have to dig to make the ground level. Since I did not want to dig today, I resorted to making another one under the two maple trees.
The shade under this tree is so dense that nothing grows there -- a perfect spot for a garden retreat.
For the bench:
8 cinder blocks (8x8x16) Some scrap lumber 4 capstones OR 2 16x16 concrete paver stones.
I started by stacking four cinder blocks into two columns as shown here. Build the pillars far enough apart to accomodate the scarp wood.
Unfortunately my scrap wood did not match in length!
So I placed them on the cinder blocks like this and hoped that there wouldn't be any stability issues
Then I placed 2 capstones on the two cinder block "pillars". Unfortunately, the three boards were not of the same thickness so the capstones did not sit securely on top of them. So every thing had to come down.
This time I laid one of the smaller boards on the ground and butted up the cinder blocks to these so that I will have the two pillars aligned nice and parallel to each other.
The cinder blocks are actually flush with the board, but parallax error makes it look otherwise
Obviously the longer board stuck out, so I put it in the center.
Then all I had to do was put the four capstones in place. Note the staggered "seams" of the cinder block "pillars". The pillar is more stable this way.
A lovely place to sit and read a book with a glass of chilled beverage that can be conveniently placed on the board that is sticking out.
Now all I have to do is throw a backyard party!
The view above
And the little tree-man watching on the side.
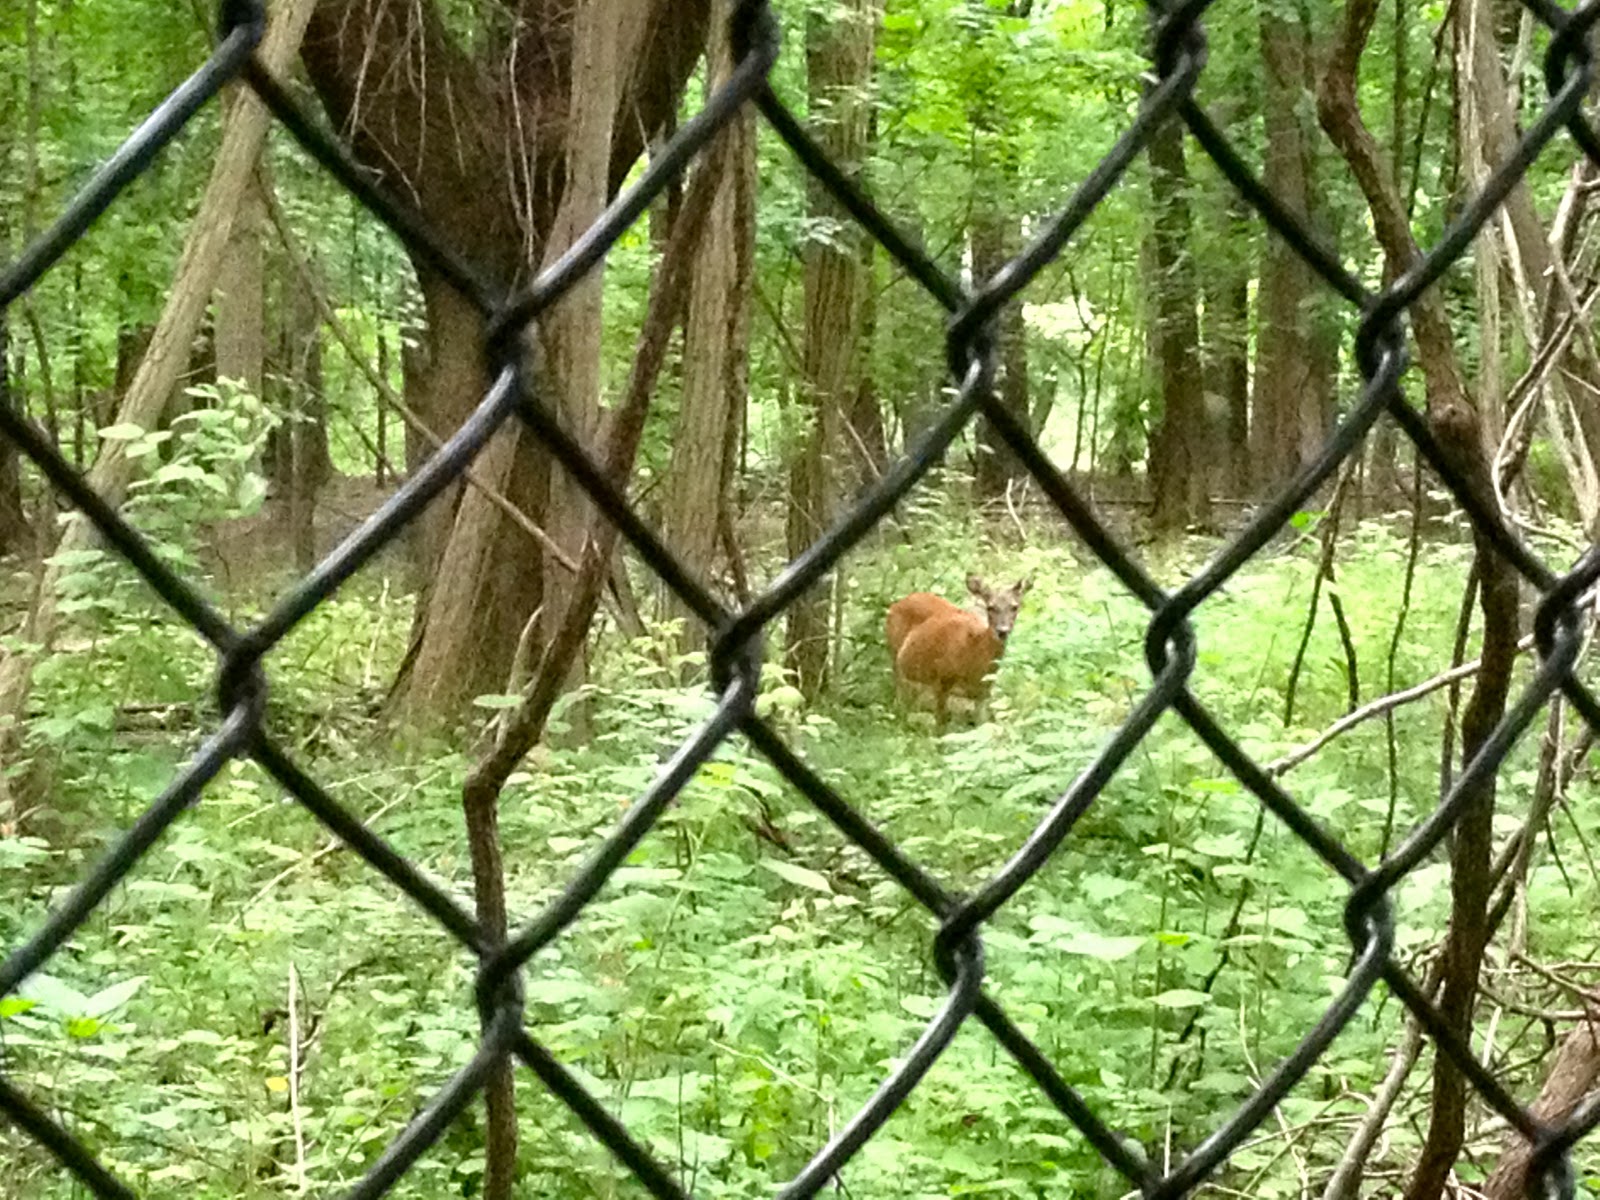
Oh-oh! Was there someone else watching this whole process?
A bird made a nest on my solar powered motion sensor light early in the spring.
I could never photograph her as she spooked easily. I knew there were some chicks involved. I saw three of them huddled together today.
Nest
Oh they certainly messed up their home, didn't they?
When we bought the house this area looked rather boring with a raised bed covered with ivy. An ivy that I did slowly started to creep up the walls and I started to worry about the structural stability of the house. So we hired some people to pull the ivy out and realized that the walls of the raised bed were quite damaged. So my idea of just replacing the ivy with some lovely plants did not work. I would have to rebuild the wall.
I started by razing the wall down (I blogged about it here last year) and was making good progress, but the limited time I had for garden activity meant that we hired some one to break the rest of the wall down and this is how it looked after the wall came down:
I then decided to build a proper wall for this raised/razed garden and then rejuvenate the soil before I take care of the plants in there. The irony is, that it will be another cinder block wall! But this time, it will not be mortared into place.
So in came 4 pallets of cinder blocks!
So in came 4 pallets of cinder blocks. Don't worry, they are not all for this project. I have a few more up my sleeve. The inspiration for this wall came from this page Apartment Therapy.
This is how it looks now.
The rubble needs to be cleaned up, of course.
Another view
How do you like my idea for a bird bath? It could also work as a planter. In its previous life it was an interior light fixture. Reuse, reuse, reuse!
The "porcupine" near the bird bath used to have "thorns" where people could wipe their feet off. A doormat, essentially. It may either be converted to some sort of planter or some kind of yard art.
All that's left to do, is to remove the rubble, add some more soil to the raised bed and plant away to my heart's content. I wish I had saved up some of my astilbe's to plant here.